
CHORAKAE · 0:54 · EN
Follow the identity verification steps
Understand the selfie, document and verification-result stages.
Watch the video
Before you start
Sign in and read the privacy information. The flow requests a selfie and an identity-document image; prepare these only if you want to continue.
Your step-by-step guide
The illustrations summarize the journey. Labels may change; follow the instructions displayed on the website.
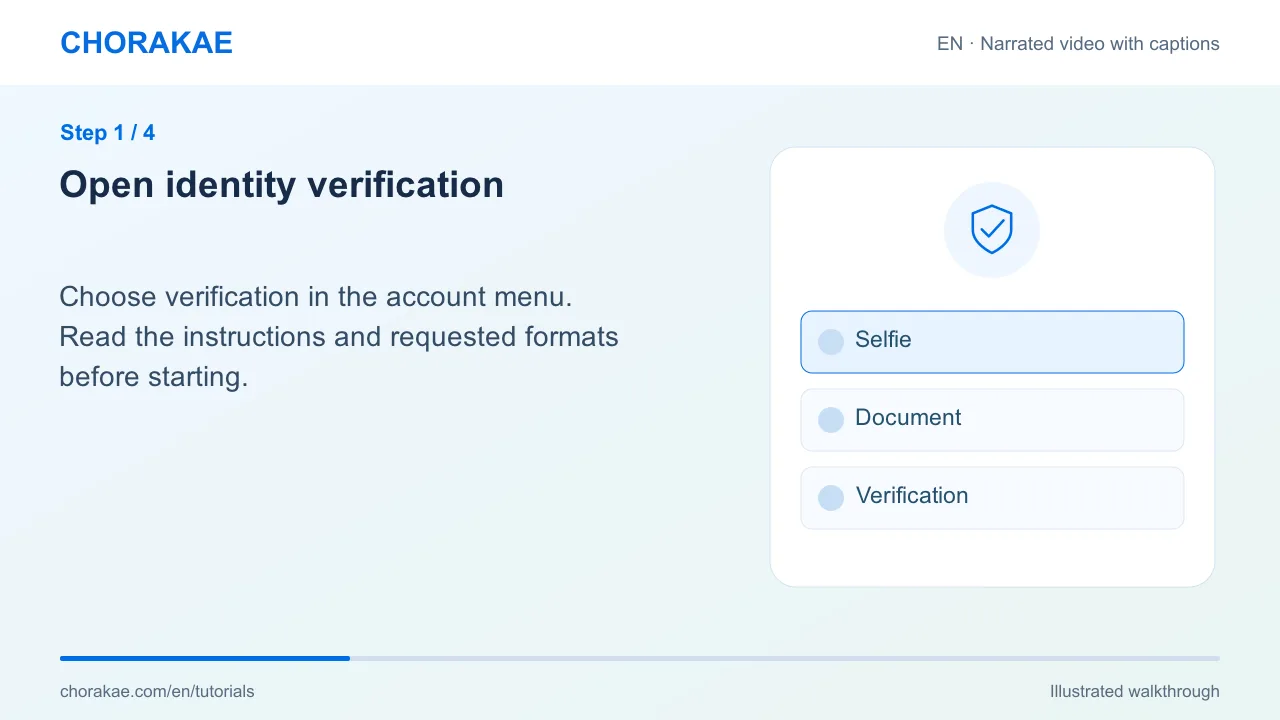
Open identity verification
Choose verification in the account menu. Read the instructions and requested formats before starting.
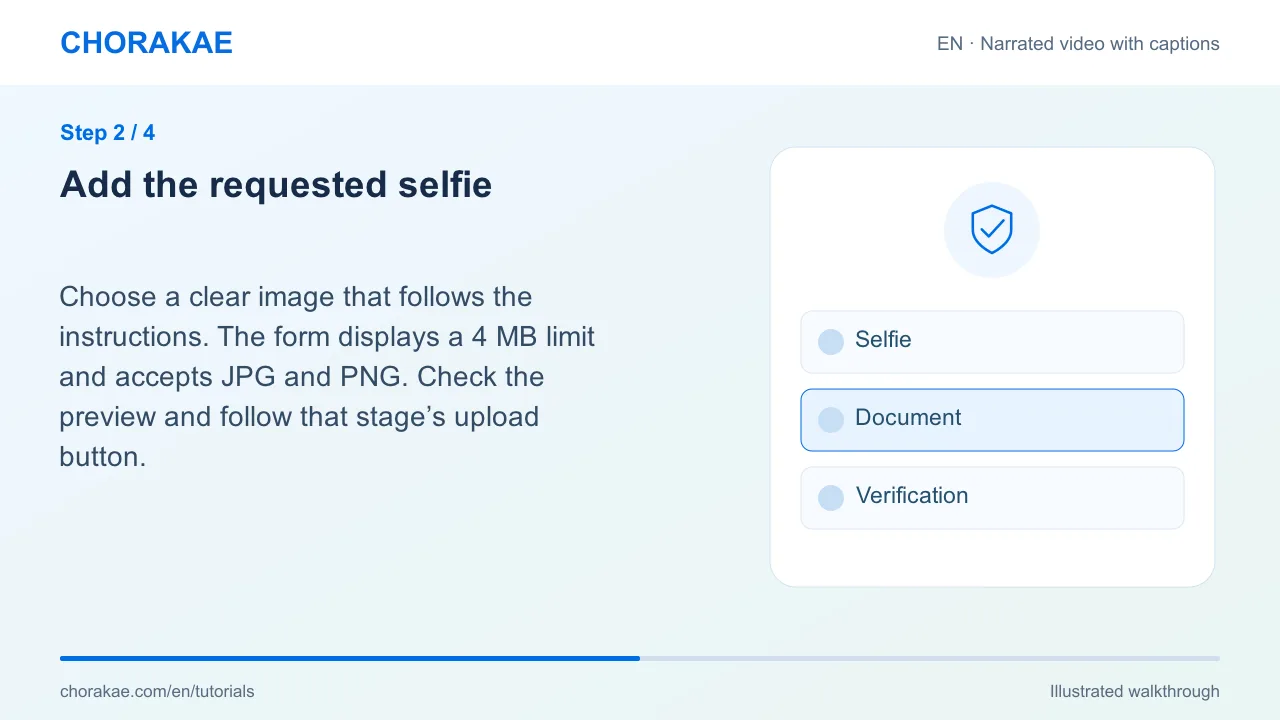
Add the requested selfie
Choose a clear image that follows the instructions. The form displays a 4 MB limit and accepts JPG and PNG. Check the preview and follow that stage’s upload button.
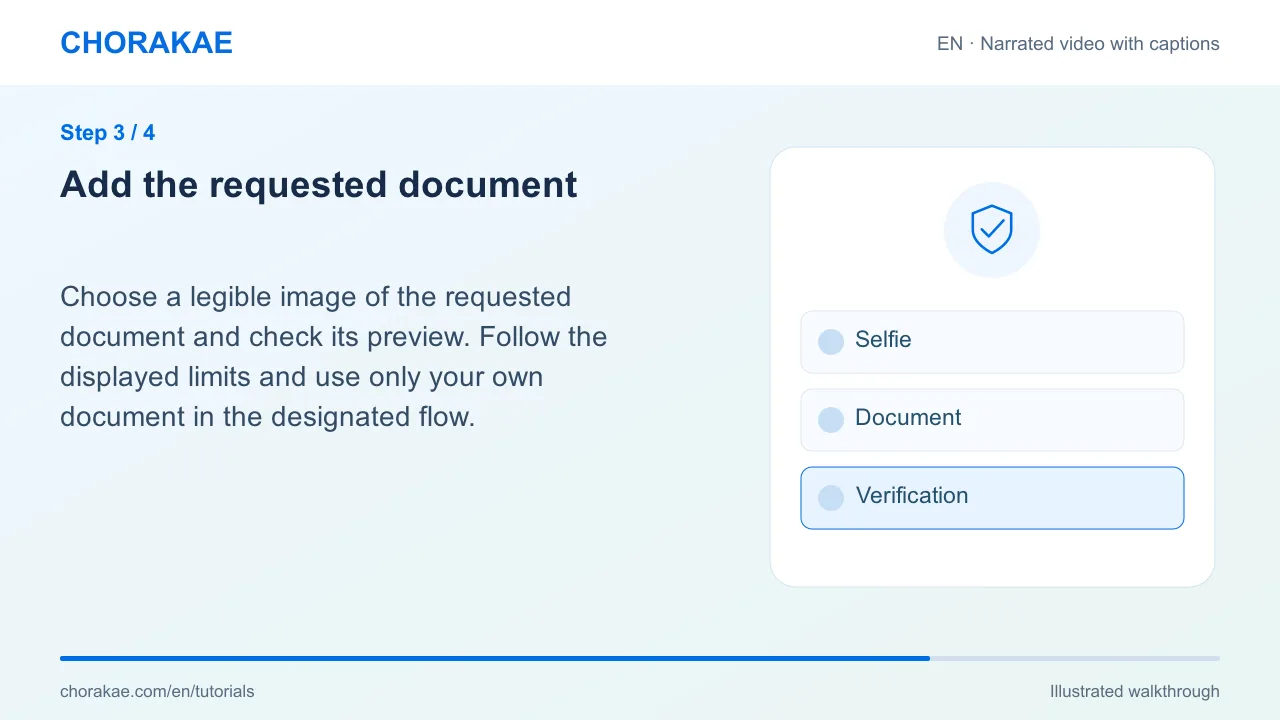
Add the requested document
Choose a legible image of the requested document and check its preview. Follow the displayed limits and use only your own document in the designated flow.
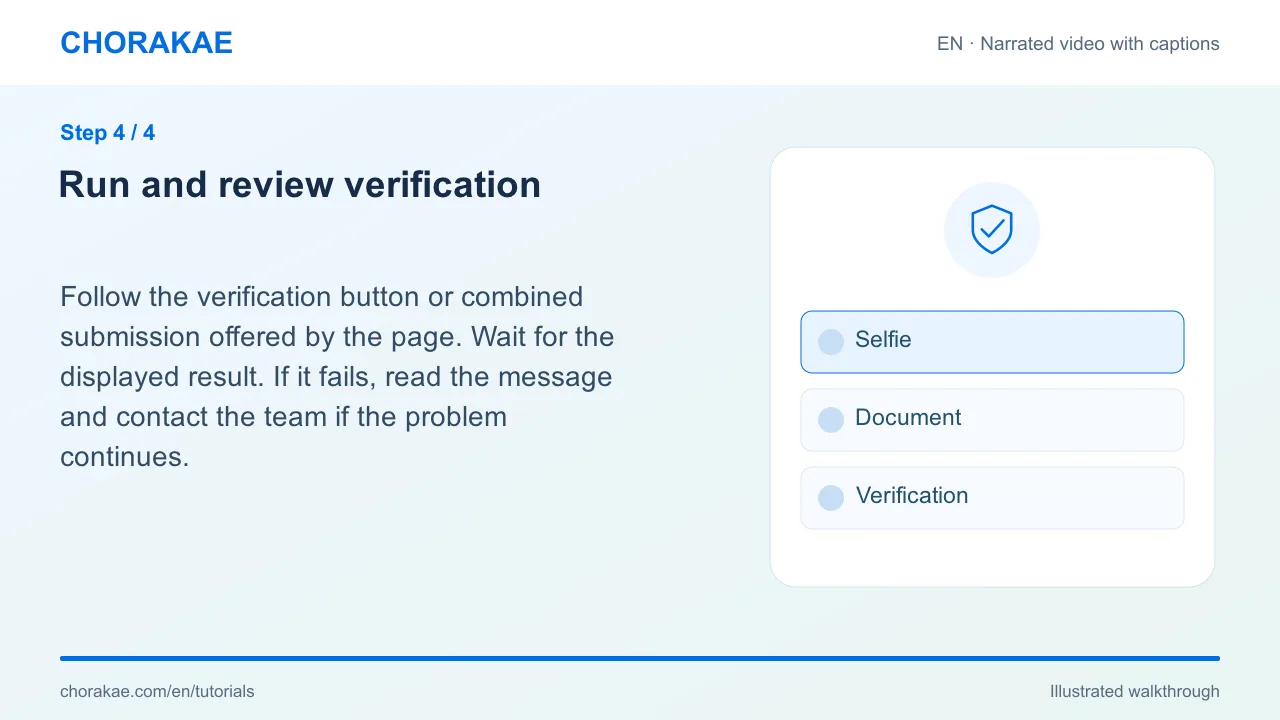
Run and review verification
Follow the verification button or combined submission offered by the page. Wait for the displayed result. If it fails, read the message and contact the team if the problem continues.
What happens next?
The result depends on the actual checks. This tutorial does not guarantee acceptance or a processing time.
Go to the action ↗Still stuck? The Chorakae team can help.
Learn to use Chorakae with narrated videos and illustrated, step-by-step guides.